I almost hesitate to write this post, because the previous owners of our home (and their interior designer) did such a lovely job of decorating and maintaining it, before we took over stewardship of this 1896 Victorian Colonial Revival home last year. The “before” pictures you see here – from the MLS listing – are not your typical “befores”! I’m really focusing on a single element: window treatments. You’ve probably heard or read how properly styled, scaled and hung window treatments can make a tremendous impact on the overall look and feel of the room. These are examples of a couple of the most dramatic changes I’ve made here that, I think, have really enhanced both the beauty, and functionality of our home.
Our living room was, no doubt, professionally decorated by the prior owners.
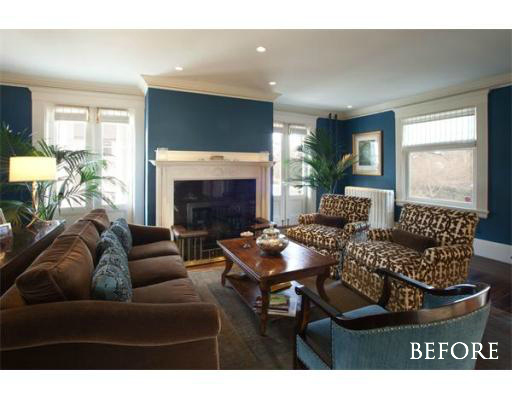
Though it was a bit dark/brown for my taste, there was a lot I loved about it, including the sumptuously textured fabrics, layout, and the wall color (which I actually did not change!). What I felt did not match the design level of the room were the basic, too-casual window treatments – unlined, inside-mounted white woven wood shades. Now, I am a HUGE fan of woven wood shades, and have kept and even added many in other rooms. But there’s something about the white that just did not work for me in this context. Also, the skinny shades mounted on the French doors were failing faster than I could have them repaired. It was time for a change.
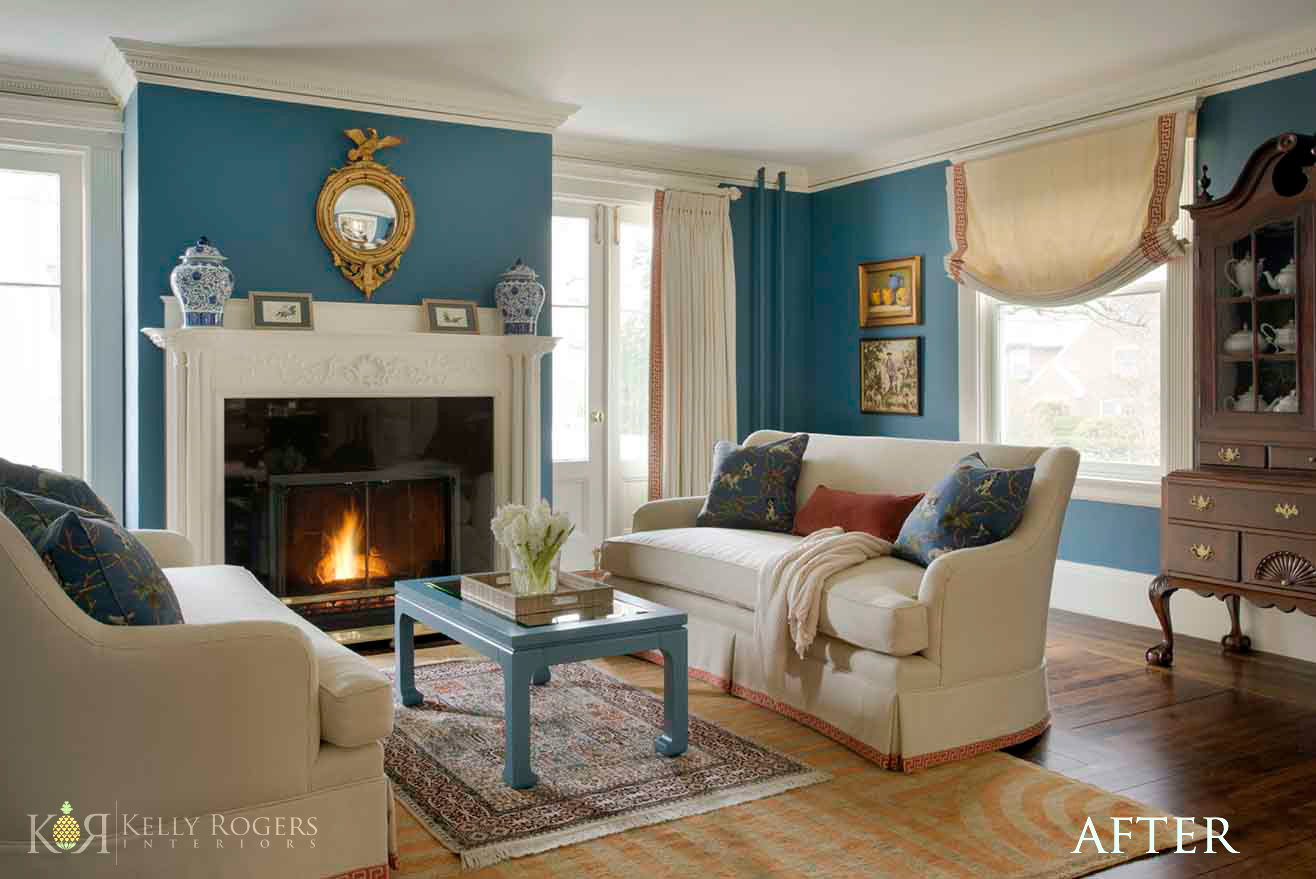
I replaced the woven wood shades with solid, cream-colored, worsted wool drapes on the French doors (hung on hardware painted to match the trim), and an outside-mounted relaxed Roman shade on the large window, which faces the front yard. I embellished them both with a wide Greek key braid trim in terra cotta red. They look and feel so much more substantial than what we inherited through purchasing the house. And I think they contribute to the overall lighter feeling I was going for, while also adding formality and richness, the latter of which was previously lacking. As a bonus, the drapes are mounted on traversing hardware which is cleverly concealed by a reeded wood rod – so they’re super easy and quick to close. Which we do regularly in the wintertime, as the doors are original and very drafty (wool is an excellent natural insulator, by the way!).
The decoration of our master bedroom also presented many challenges – chief among them, what to do about the windows?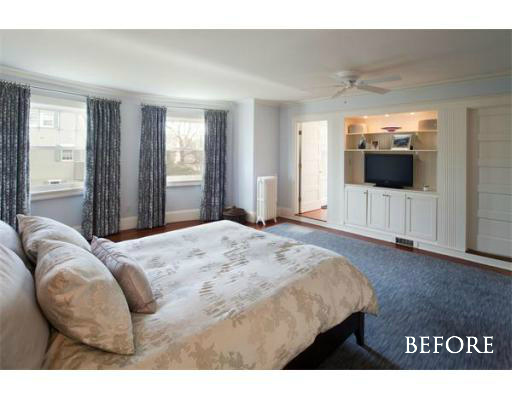
Keeping the existing custom draperies (also a very fancy, expensive cut-velvet fabric) was not an option, as they were excluded by the previous owners. No doubt, they spent big bucks on them. The windows are actually set into a slightly curved bay, which may be difficult to discern, thanks to the flattening of the image by a wide angle lens. These drapes were hung on standard, straight rods, which prevented these lovely draperies from having that custom look – despite being custom-made. Not only that, but, for me, this type of installation would have had an unacceptable amount of light leakage through the top, since there was nothing to block the light between the straight-closing drapes and the curved wall (I need a dark bedroom!). Plus, if I’m being a little picky, they could have been mounted a bit higher, just below the crown moulding.
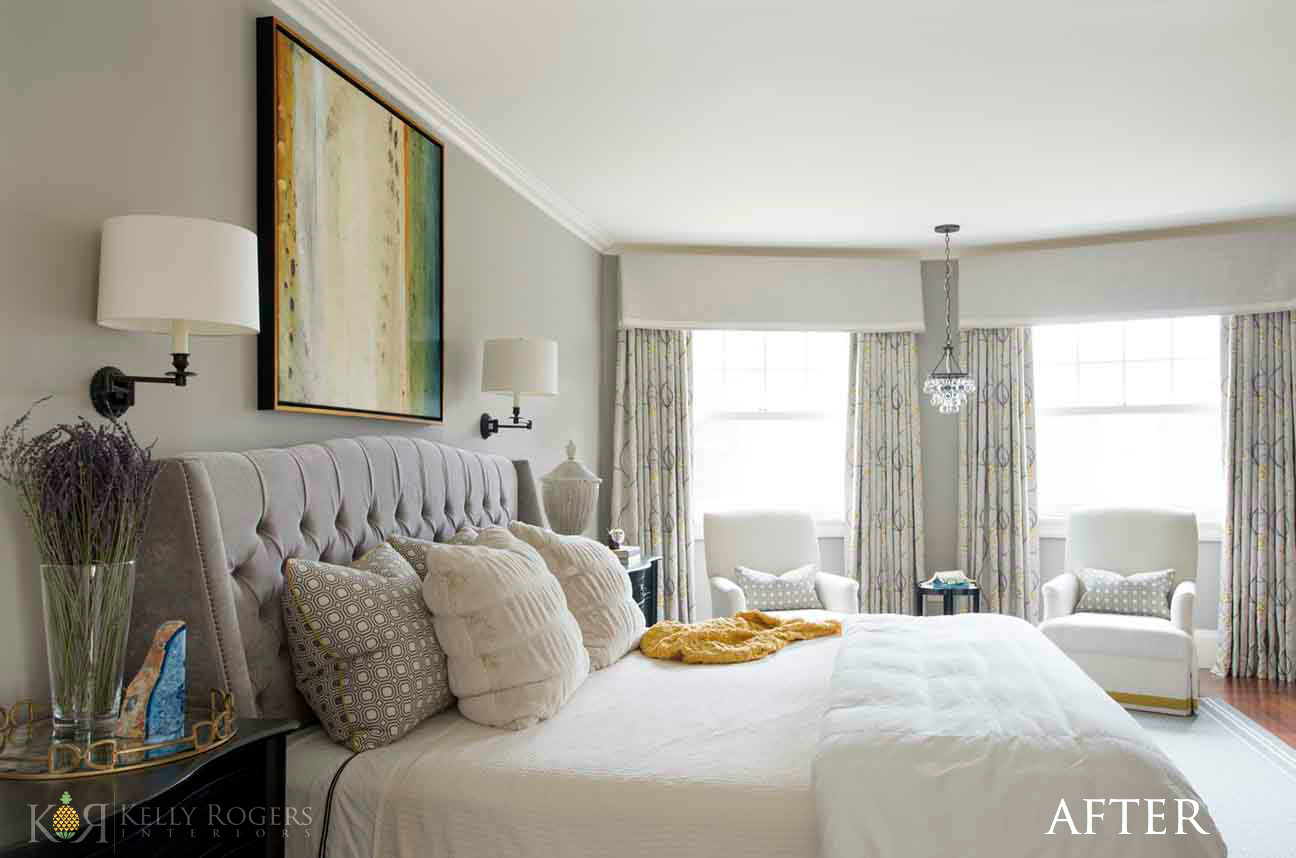
The window treatments I designed for my master bedroom are definitely my favorite element in the room – and the most important! I splurged on the drapery fabric (Osborne & Little’s “Shiraz” – embroidered, stylized grapevines on a gray linen background…see below) and had the panels blackout lined, but needed a solution to the dreaded “light leakage” that preferably did not involve some sort of custom moulded drapery hardware solution. Instead, I had my workroom create fabric valances mounted on boards with a curved back fitted perfectly to the shape of the wall. These conceal basic (cheap), straight traversing rods, which make opening and closing the panels a breeze. Together, they also look perfectly fitted to the wall, and enhance both the height and depth of the room – not to mention, my ability to sleep past 5:30AM in the summertime!
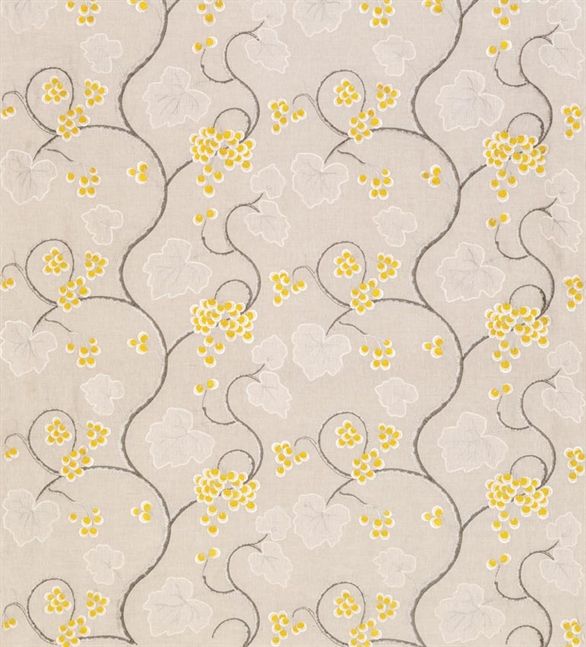
And in a room where a major goal was creating a dark environment for sleep, what better accent color to compensate than a sunny yellow, which looks absolutely heavenly when the actual morning sun is streaming in through the east-facing windows!
So can you see how much of a difference the right window treatments can make in how a room looks and functions? Done right, they truly can solve a multitude of problems – and look gorgeous doing it!
“After” photo credit: Eric Roth
I like the before and after photos of the bedroom. That is a great way to bring more natural light into a room. I am going to try using lighter curtains for my house to brighten it up.